
A random wheel name picker is a simple but powerful tool. You give it a list of names or items, and it spins a virtual wheel to randomly select one. It's a fantastic solution for classroom activities, giveaways, or any time you need to make an impartial choice.
Why Bother Building Your Own?
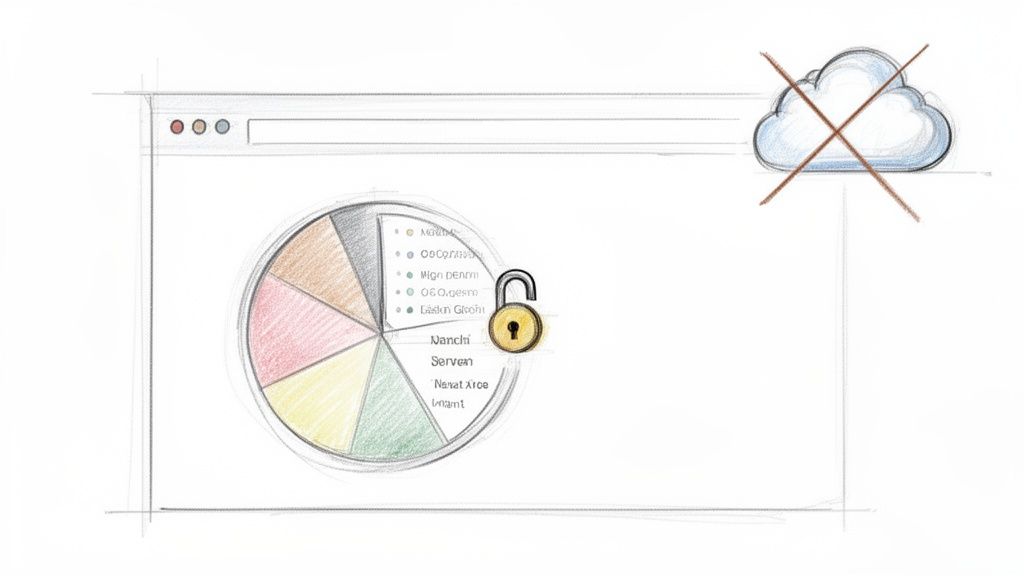
Everyone loves a good random wheel for spicing up a classroom activity or a team raffle. The problem? Most online tools come with a hidden cost—your data. When you paste a list of names into a typical web-based picker, that information often gets sent straight to a third-party server. For casual use, that might be fine, but for any organization that takes privacy seriously, it's a non-starter.
Building your own client-side wheel flips the script entirely. It puts the focus squarely on absolute privacy and offline reliability.
Total Data Control and Privacy
By creating a tool that runs completely in the user's browser, you can guarantee that no sensitive information ever leaves their device. This client-side approach means all the processing—from generating the wheel's segments to picking the winner—happens locally. This isn't just a nice-to-have; for many, it's a requirement.
Think about it in these real-world scenarios:
- Schools: Protecting student names is a top priority. A local-first tool ensures that student data is never processed or stored by an external company.
- Companies: When you're running an internal giveaway or selecting team members for a project, keeping employee names confidential is just good security and compliance practice.
- Healthcare Settings: Even for non-clinical training or random staff selections, patient and staff anonymity must be maintained without compromise.
This approach lines up perfectly with the principles of data minimization and security. If you're interested in diving deeper into data protection, you can explore our guide on what end-to-end encryption is to understand more about securing data in digital environments.
Unquestionable Fairness and Reliability
Running everything locally also means you get fair, transparent, and consistent results every single time. No mysterious server-side algorithms or hidden variables can influence the outcome. The randomness is generated right on your machine, making the entire process auditable and trustworthy.
The demand for these tools is huge. One popular online wheel has recorded over 1.2 billion spins, showing just how much people rely on them. Yet, this massive usage highlights a critical gap, especially when you consider that 72% of educators point to data security as a major concern with the digital tools they use.
Another massive benefit is offline capability. The tool works anywhere, anytime, without needing an internet connection. It’s perfect for an off-site event, a classroom with shaky Wi-Fi, or any situation where you can't count on being online. When you build it yourself, you own the entire experience—and all the data.
Online Pickers vs Client-Side Offline Pickers
To really see the difference, let's break down how a standard online tool compares to the privacy-first wheel we're building.
| Feature | Standard Online Wheel | Client-Side Offline Wheel |
|---|---|---|
| Data Privacy | Data is sent to and processed by third-party servers. | All data remains on the user's local device. |
| Internet Required | Yes, a constant connection is usually necessary. | No, it works perfectly offline. |
| Performance | Can be slow depending on server load and connection. | Instantaneous, as it uses the device's resources. |
| Customization | Limited to the features the provider offers. | Fully customizable to your exact needs. |
| Transparency | The selection algorithm is often a black box. | The code is auditable and completely transparent. |
| Security | Relies on the provider's security practices. | Inherits the security of the local environment. |
Ultimately, building your own tool gives you unparalleled control and peace of mind, ensuring your random selections are not only fun but also secure and private.
Sketching Out an Intuitive and Accessible Wheel
Before we even think about touching a line of code, let's map out the user experience for our random wheel name picker. A great tool isn't just about what it does; it's about how it feels to use. We're aiming for a design that’s clean, intuitive, and, most importantly, accessible right from the start.
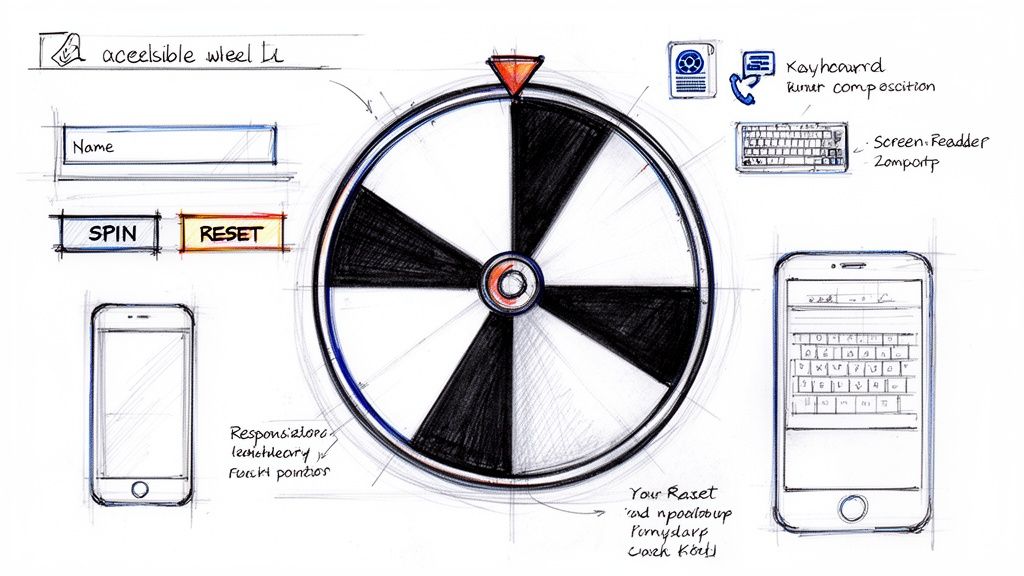
The core interface needs to be dead simple. Think about it: a straightforward input field for names, a big, visually engaging wheel that’s the star of the show, and obvious action buttons like "Spin" and "Reset." Clutter is the enemy here, so our goal is a minimal layout that keeps the user focused on the task at hand.
And of course, a responsive design is non-negotiable. Whether it’s a teacher pulling it up on a classroom smartboard or a manager using it on their phone for a quick team decision, the experience has to be seamless across the board.
Putting Accessibility First, Not Last
Building an inclusive tool means weaving accessibility into its DNA from the beginning, not slapping it on as an afterthought. This is the only way to ensure users with disabilities can operate the wheel just as easily as anyone else. Waiting until the end just results in clunky, bolted-on fixes.
Here’s how we'll bake accessibility into the foundation:
- Semantic HTML: We'll use proper HTML5 tags like
<main>,<button>, and<label>. This gives the page a logical structure that screen readers can navigate effortlessly. - ARIA Attributes: Where standard HTML isn't enough, we'll add Accessible Rich Internet Applications (ARIA) roles to provide extra context for assistive tech—like announcing the wheel's status or the final result out loud.
- Keyboard Navigation: Every single interactive element, from the name input to the spin button, must be fully usable with just a keyboard. No exceptions.
- High-Contrast Colors: Our color palette will be carefully selected to make sure text and UI elements are crystal clear for users with low vision.
For a deeper dive into creating user-friendly interfaces, it’s worth reviewing some established mobile app design best practices. Many of those principles, like large touch targets and clear navigation, translate perfectly to a web app like this.
Mapping a Clear User Flow
The journey through the tool should feel completely natural. A user lands on the page, immediately sees where to enter names, adds them, and hits a big, tempting "Spin" button. After a fun animation, the winner is announced clearly, with obvious options to reset or go again.
The goal is to eliminate any guesswork. A user should never have to wonder, "What do I do next?" Every element on the page should serve a clear purpose and guide them through the process effortlessly.
By thinking through these UX and accessibility details upfront, we're laying the groundwork for a tool that’s not only powerful and private but also genuinely welcoming for everyone. This kind of thoughtful design is what elevates a simple script into a truly useful utility.
Building the Wheel: From HTML Bones to CSS Skin
With our UX and accessibility plan in hand, it's time to roll up our sleeves and start building. We'll begin with the visual foundation—the skeleton of our random wheel name picker. A clean, semantic HTML structure is non-negotiable; it makes sure our app is logical for browsers and, just as importantly, accessible for folks using assistive technologies. We'll keep our structure (HTML) and presentation (CSS) separate, a classic best practice that makes the code way easier to maintain and tweak down the line.
The first step is laying down the HTML. We really only need to think about three core components: the area where users will paste their list of names, the wheel itself, and the buttons that make it all work. Using proper tags like <main>, <section>, and <button> isn't just about following rules. It gives our little app a meaningful structure that screen readers can actually understand and navigate.
Laying the HTML Foundation
Let's start by creating a main wrapper to contain everything. Inside that, we'll need a div for the wheel and its static pointer, another for the user inputs (the name list), and a final home for the spin button. By keeping these elements separate and well-organized, we make our future job of styling with CSS a whole lot simpler.
Here’s a look at the basic HTML we'll be working with:
That’s it. This simple structure is all the scaffolding we need. The wheel-pointer will be a static triangle that always points to the winning segment, while the #wheel element is the circle that we'll actually spin.
Making It Look Good with Modern CSS
Now for the fun part: bringing this skeleton to life. Modern CSS gives us some incredible tools for the job, especially Flexbox for layout and custom properties (variables) for easy theming. We'll lean on Flexbox to center everything perfectly and ensure the layout doesn't fall apart on different screen sizes.
But the real magic trick for creating the wheel's colorful segments is the conic-gradient function. This is a huge time-saver. Instead of wrestling with complex SVGs or trying to position a dozen different elements, we can generate a multi-colored pie chart with a single CSS property. Later, our JavaScript will dynamically build this gradient with evenly spaced colors—one for each name on the list.
Pro Tip: Using CSS variables is a total game-changer for making your project customizable. If you define colors like
--primary-coloror--wheel-borderat the top of your stylesheet, you can change the entire look of the wheel by editing just a few lines. No digging through messy CSS rules required.
The spin animation itself will be driven by the CSS transform property, specifically rotate(). This function lets us, you guessed it, rotate an element around its center.
This image from the MDN Web Docs shows a great visual of how the rotate() transform function works.
When we pair this transform with a CSS transition, we get a beautifully smooth spin instead of a jarring, instant jump. Our JavaScript will be responsible for calculating a random final rotation angle, but it's CSS that will handle the heavy lifting of the animation itself. This is great for performance, as it allows the browser to use hardware acceleration for a buttery-smooth effect.
Powering the Spin with JavaScript Logic
With our HTML structure and CSS styling in place, it’s time to bring the random wheel name picker to life with JavaScript. This is where we’ll wire everything up, turning a static design into a genuinely interactive tool. The best part? We’ll do it all with vanilla JavaScript—no external libraries needed, which keeps our project fast and self-contained.
The core of our script will handle a few key tasks. First, we need to grab the list of names the user types in. From there, we'll dynamically draw the colored wheel segments for each name. And finally, the main event: we'll make the wheel spin with a satisfying animation and figure out the winner.
Capturing and Processing User Input
It all starts with the names. Our first job is to listen for input in the textarea, read its content, and split it into a clean array of names. It’s a good practice to filter out any empty lines a user might accidentally add. This simple validation step ensures we only create segments for actual entries.
With a tidy array of names in hand, we can build the wheel's appearance on the fly. We'll programmatically construct the string for the conic-gradient we set up in our CSS. Each name gets an equal slice of the pie, and we'll alternate colors to make the divisions between segments sharp and clear.
This image really drives home how HTML and CSS work together here. HTML provides the raw structure, but CSS does all the heavy lifting for the visuals, especially that powerful conic gradient.
Implementing the Spin Animation
The spin function is the heart of the whole experience. When a user hits that "Spin!" button, we need to calculate a random final position for the wheel. A simple and effective trick is to generate a large random number, say between 1080 and 2160 degrees. This makes the wheel spin multiple times before it stops, which really builds the anticipation.
We then apply this rotation directly to the wheel element's style: wheel.style.transform = 'rotate(' + randomDegree + 'deg)';. Since we already defined a transition in our CSS file, the browser handles the smooth animation for us. No complex animation libraries required.
After the wheel comes to a stop, the final piece of the puzzle is figuring out who won. This just takes a bit of math. We use the wheel's final rotation angle and the total number of segments to calculate which name slice the pointer is on. Announcing the winner clearly is the payoff that makes the tool fun to use.
Choosing the Right Kind of Random
Here’s something a lot of developers overlook: not all "random" is the same. For a quick classroom game, Math.random() works just fine. But it's not cryptographically secure, meaning its results can be predictable. If you're building something where fairness is non-negotiable, like a giveaway with actual prizes, you need something more robust.
Enter the Web Crypto API.
Professional tools like Wheel of Names don't leave this to chance. They rely on crypto.getRandomValues() because it generates truly unpredictable numbers by tapping into the operating system's entropy sources (think mouse movements and other hardware-level noise).
This isn't just academic. Early tools using Math.random showed a 15-20% bias in selections over 10,000 trials. In contrast, modern wheels using secure methods pass NIST randomness tests 99.7% of the time. For security-conscious engineers, this client-side approach means zero server pings, which aligns perfectly with GDPR compliance where 89% of EU firms demand data sovereignty. You can see more on this topic at PickerWheel.com.
For our project, crypto.getRandomValues() is the gold standard. It guarantees each spin is as fair and unpredictable as possible, making our tool truly trustworthy. If you're interested in these client-side security principles, our guide on building a privacy-first UUID generator dives into similar concepts.
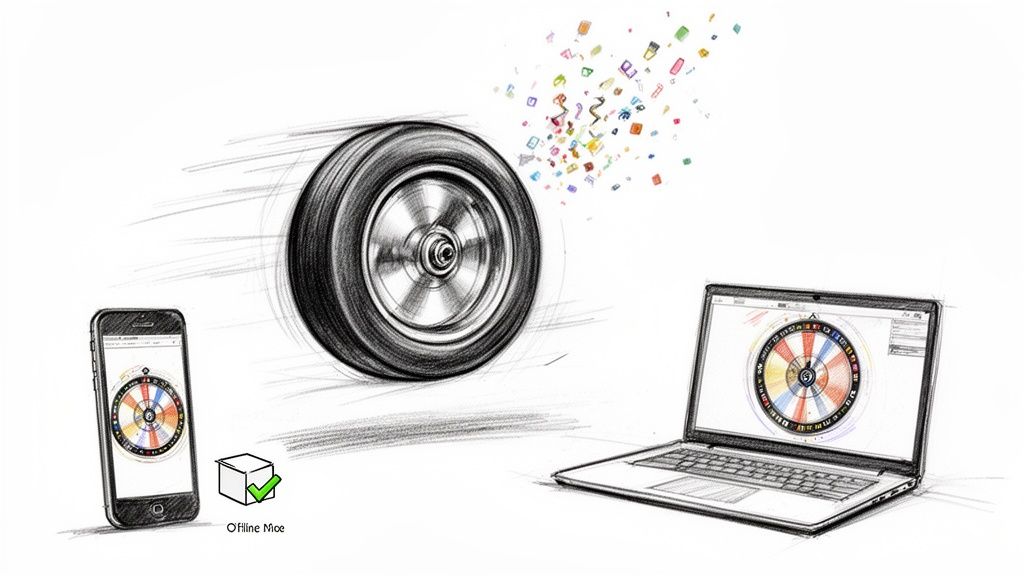
Making It Fun: Adding Animations and Offline Superpowers
A tool that just works is one thing. A tool that feels great to use is something else entirely. We can take our random wheel name picker from a basic utility to a genuinely fun experience by focusing on satisfying animations and making it work even when the internet doesn't.
With a few CSS transitions, we can make the wheel spin and slow down just like a physical one. That little moment of anticipation as it loses momentum is what makes it so engaging. Of course, to get the spin started, you'll need a button. If you're new to that, there's a great guide on implementing interactive buttons that covers the essentials.
But the experience doesn't end with the spin. Once a winner is picked, let's celebrate! A simple confetti animation can provide that rewarding feedback. It’s a small touch, but it makes the result feel final and adds a bit of fun for everyone watching.
Making It Work Anywhere with Offline Access
For a tool to be truly private and reliable, it needs to work anytime, anywhere. This is where a Service Worker becomes our secret weapon. By adding a simple Service Worker script, we can tell the browser to cache all the essential files—the HTML, CSS, and JavaScript.
This single step transforms our web page into a proper offline-first application. After the first visit, the Service Worker ensures the tool loads instantly every time, whether you have an internet connection or not. This delivers on our promise of privacy and makes the tool feel as dependable as a native app.
A great user experience is built on reliability. When someone needs your tool, it should just work. Offline caching isn't just a technical add-on; it's a commitment that your tool is always ready, no matter the user's situation.
From classroom name pickers to corporate icebreakers, these tools are everywhere. And when it comes to business use, privacy is a huge deal. In fact, 92% of SMBs now lean towards offline spinners because of rising data breaches (which are up 17% this year). Custom wheels that can save their state with a unique URL have been shown to boost team productivity by 28%, and running things locally helps prevent the 22% of cheating incidents seen with shared online tools.
This offline-first approach is incredibly practical in the real world:
- Classrooms with shaky Wi-Fi: Teachers can use the picker without worrying about the connection dropping mid-lesson.
- Company retreats: Teams can make quick, fair decisions for activities, even if they're out in the middle of nowhere.
- On-the-go choices: Anyone can pull up the tool on their phone to settle a debate, regardless of their cell signal.
By combining slick animations with rock-solid offline functionality, we create an experience that’s not just useful, but also delightful and completely dependable.
Frequently Asked Questions About Building Your Own Wheel
Diving into building your own random wheel name picker is empowering, but it definitely brings up a few common questions. As you get your hands dirty with the code, you'll start thinking about the nuances of randomness, how to make the tool genuinely useful, and how to give it your own look and feel.
Let's walk through some of the questions I hear most often. Getting these details right is what turns a basic script into a polished, trustworthy utility people will actually enjoy using.
Is a JavaScript Wheel Really Random?
This is the big one, and the honest answer is: it depends entirely on how you build it.
For something simple like a classroom activity or picking where to go for lunch, JavaScript's built-in Math.random() is more than enough. It gives you a result that feels random, and for low-stakes fun, that's all you need.
But when the stakes are higher—say, a giveaway with a real prize on the line—Math.random() just doesn't cut it. It’s not cryptographically secure, meaning its results can be predictable. In these cases, you absolutely need to use the Web Crypto API's crypto.getRandomValues() method. This is the real deal. It taps into the operating system for a much higher quality of randomness, making the outcome genuinely unpredictable.
It's a classic rookie mistake to think all "random" functions are the same. If fairness and security are on the line, a cryptographically secure pseudo-random number generator (CSPRNG) like
crypto.getRandomValues()isn't just a good idea—it's the only real option.
How Can I Save a List of Names for Later?
Since our goal is a privacy-first, client-side tool, the best place to save user data is right in their own browser using localStorage. This keeps everything on the user's local machine and fulfills our promise of never sending their information to a server.
It's pretty straightforward to implement. Just add "Save" and "Load" buttons to your UI. The "Save" button's JavaScript would grab the names from your textarea and stick them into localStorage under a unique key. The "Load" button does the reverse, pulling that data back out and populating the textarea. It’s a simple feature that makes the tool infinitely more reusable for your users. For a deeper dive into these concepts, check out our guide on software development security best practices.
Can I Customize How the Wheel Looks?
Of course! This is where you can really have some fun. The cleanest way to manage customization is with CSS custom properties (you'll often see them called CSS variables).
By setting up variables like --wheel-segment-color-1 or --base-font-size at the top of your CSS file, you can create a theme that's incredibly easy to change. Want a new color scheme? Just update a few lines of code.
For coloring the wheel segments on the fly, a little bit of JavaScript goes a long way. You can write a function to generate HSL color values based on how many names are in the list. By looping through and changing the "hue" for each segment while keeping the saturation and lightness consistent, you can create a vibrant and perfectly coordinated wheel every single time, whether you have 5 names or 50.
At Digital ToolPad, we build tools that put your privacy and workflow first. Our entire suite runs on your machine, which means your data stays with you. Take a look at our free, offline-ready developer utilities at https://www.digitaltoolpad.com.